
The Zyxel EX3501-T0 is a dual-band Gigabit router with Wi-Fi 6 (AX3000) technology, providing ultra-fast and stable wireless connectivity. Designed for home and office networks, it supports VoIP telephony, remote management, and smart configuration. This article covers the key features of the EX3501-T0 and provides a step-by-step guide for quick installation and setup — based entirely on Zyxel’s official documentation.
 |
 |
Hardware Overview
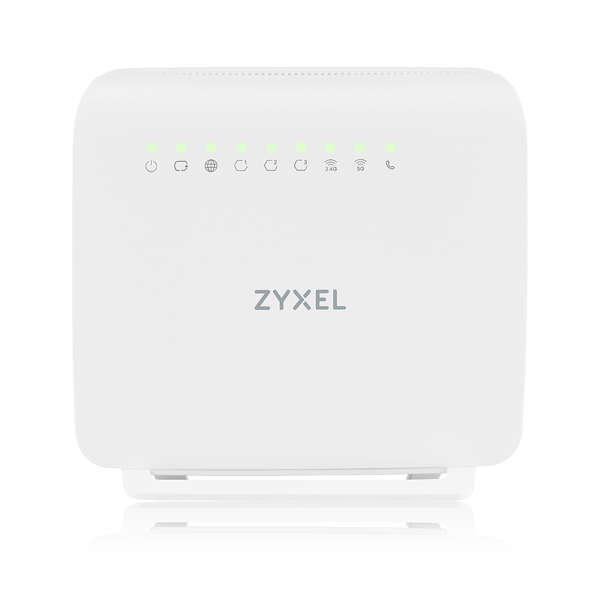
Front PanelLED indicators show the status of power, Internet, LAN, Wi-Fi, and phone lines.
|
Rear Panel
|
Side Panel:
|
Side Panel:
|
Technical Highlights:
Wi-Fi 6 (802.11ax) — up to 2400 Mbps on 5 GHz and 600 Mbps on 2.4 GHz.
MU-MIMO, OFDMA, and Beamforming for stable, dead-zone-free coverage.
VoIP support — 2 FXS ports for telephone connection.
4 Gigabit Ethernet ports (1 WAN + 3 LAN).
1 USB 2.0 port for file sharing or 3G/4G failover connection.
Remote management via TR-069/TR-369/TR-181 for reduced operational costs.
Security: SPI firewall, DoS protection, WPA2/WPA3 encryption.
Quality of Service (QoS): prioritizes IPTV, VoIP, and streaming services.
Power: 12V/1.5A (18W max consumption).
Dimensions: 170 × 165 × 30 mm; weight 288 g
Quick Setup Guide for Zyxel EX3501-T0
Connect the WAN port to your modem or ISP network cable.
Connect your computer to a LAN port using the yellow Ethernet cable.
Optionally, plug a telephone into the PHONE 1/2 port.
-
Connect the power adapter and press the Power On/Off button.
Power LED: green — on, blinking — booting, red — fault.
Internet LED: green — connection ready, red — IP error, blinking — data activity.
- Make sure your Zyxel Device hardware is properly connected (refer to the Quick Start Guide).
- Make sure your computer has an IP address in the same subnet as the Zyxel Device.
- Launch your web browser. Type http://192.168.1.1 in your browser address bar.
- A login screen displays. Select the language you prefer (upper right).
To access the administrative Web Configurator and manage the Zyxel Device, enter the default user
name admin and the randomly assigned default password (see the Zyxel Device label) in the Login
screen and click Login. If you have changed the password, enter your password and click Login.
Quick Start Setup
You can click the Wizard icon in the sidebar to open the Wizard screens. After you click the Wizard icon,
the following screen appears. Click Let’s go to proceed with settings on time zone and WiFi networks. It
will take you a few minutes to complete the settings on the Wizard screens. You can click Skip to leave
the Wizard screens.
| Time Zone | Internet | Successful Internet Connection |
Quick Start Setup – WiFi
Turn WiFi on or off. If you keep it on, record the WiFi Name and Password in this screen so you can
configure your WiFi clients to connect to the Zyxel Device. If you want to show or hide your WiFi
password, click the Eye icon.
Select Keep 2.4GHz and 5GHz the same to use the same SSID for 2.4 GHz and 5 GHz WiFi networks.
Otherwise, clear the checkbox to have two different SSIDs for 2.4 GHz and 5 GHz WiFi networks. The
screen and fields to enter may vary when you select or clear the checkbox.
You have to disable MPro Mesh in the Network > Wireless > MESH screen to clear the Keep 2.4GHz and
5GHz the same checkbox.
Useful Links
Below are useful resources for deeper guidance and user documentation.
Comments
0 commentsPlease sign in to leave a comment.